
1.部署环境
(1)操作系统:Ubuntu server 22.04.2 LTS
(2)已安装docker和docker-compose
(3)部署版本:10008
(4)官方github地址:https://github.com/jitsi/docker-jitsi-meet
(5)使用的云服务器
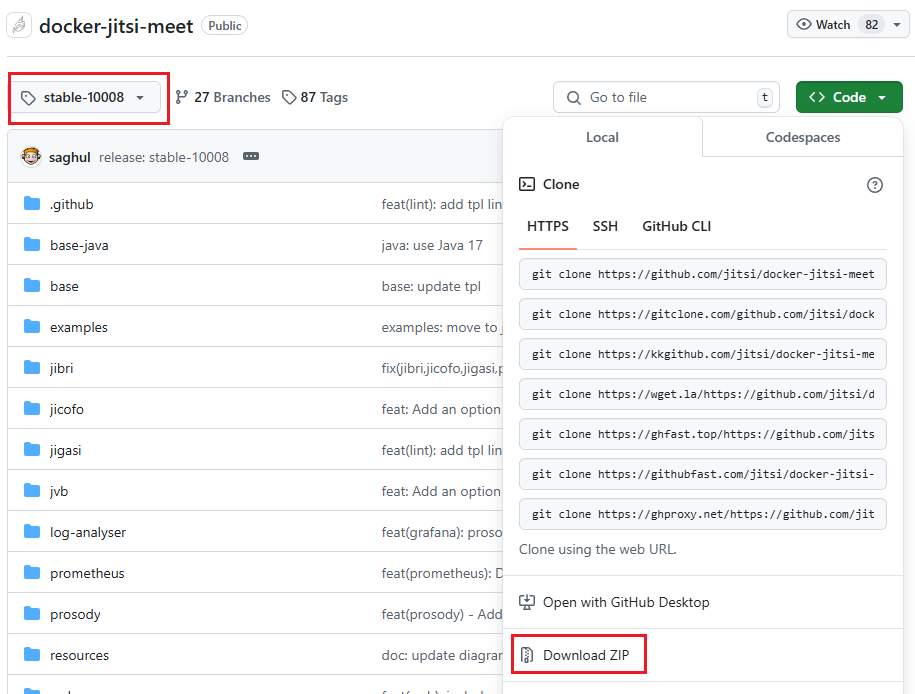
2.下载项目文件的ZIP压缩包
(1)夸克网盘:https://pan.quark.cn/s/54a6d22e5716
(2)百度网盘:链接: https://pan.baidu.com/s/1TY_I7z1zdkPRO9tQMgJWpw?pwd=ghfe 提取码: ghfe
(3)如果你服务器能访问github可以直接使用git进行拉取
git clone https://github.com/jitsi/docker-jitsi-meet.git
- 1
(4)下面是从github上下载的步骤,上面下载了就可以跳过了

| Tag | Description |
|---|---|
| stable | 稳定发布版,推荐使用 |
| stable-NNNN-X | 稳定发布版,推荐使用 |
| unstable | 不稳定版,不建议使用 |
| unstable-YYYY-MM-DD | 不稳定版,不建议使用 |
| latest | 长期不更新版本,不要使用 |
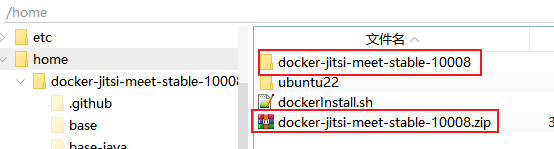
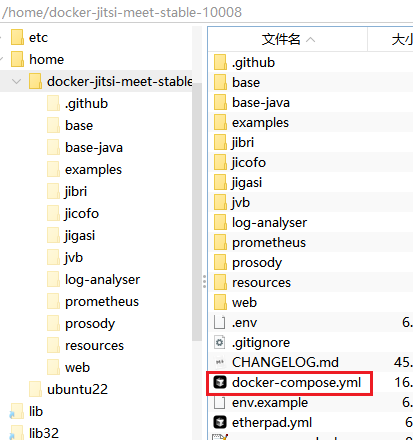
3.把下载好的压缩包上传到服务器的home目录下,并解压
unzip docker-jitsi-meet-stable-10008.zip
cd docker-jitsi-meet-stable-10008/
#复制配置文件
cp env.example .env
#自动生成密码
./gen-passwords.sh
- 1
- 2
- 3
- 4
- 5
- 6
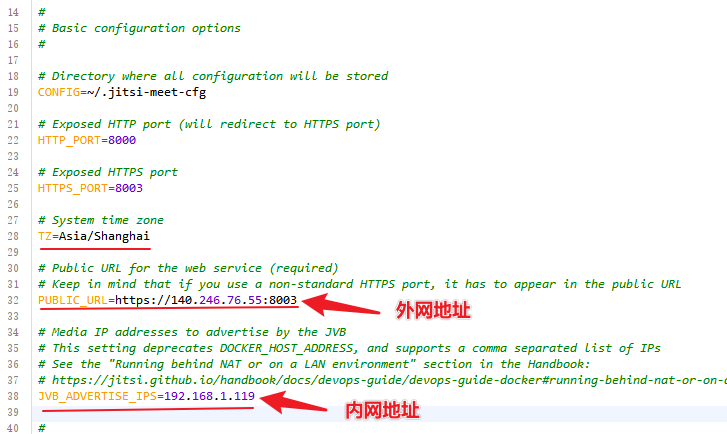
4.修改.env配置文件
vim .env
- 1
修改下面几项就可以了
# 这里我不该文件的路径,你想改也是可以的
CONFIG=~/.jitsi-meet-cfg

# 只要服务器上没有用过的端口即可
HTTP_PORT=8000

# 这里我改成8003,只要服务器上没有用过的端口即可
HTTPS_PORT=8003

# TZ这个是时区,一般大陆写Asia/Shanghai
TZ=Asia/Shanghai

# Public URL for the web service (required)
# Keep in mind that if you use a non-standard HTTPS port, it has to appear in the public URL
PUBLIC_URL=https://140.246.76.55:8003

# Media IP addresses to advertise by the JVB
# This setting deprecates DOCKER_HOST_ADDRESS, and supports a comma separated list of IPs
# See the "Running behind NAT or on a LAN environment" section in the Handbook:
# https://jitsi.github.io/handbook/docs/devops-guide/devops-guide-docker#running-behind-nat-or-on-a-lan-environment
JVB_ADVERTISE_IPS=192.168.1.119
- 1
- 2
- 3
- 4
- 5
- 6
- 7
- 8
- 9
- 10
- 11
- 12
- 13
- 14
- 15
- 16
- 17
- 18
- 19
- 20
- 21
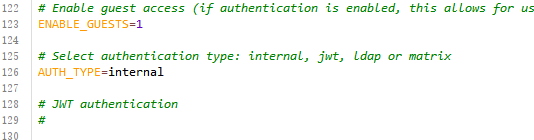
# 运行访客访问,这样的话就不需要大家注册了,直接发会议链接进入即可
ENABLE_GUESTS=1

# Select authentication type: internal, jwt, ldap or matrix
AUTH_TYPE=internal
- 1
- 2
- 3
- 4
- 5
5.创建Jitsi各组件运行时,必要的配置文件所需的目录
如果上面你没修改CONFIG目录路径的话就得执行这一步新建,修改了就跳过
mkdir -p ~/.jitsi-meet-cfg/{web/letsencrypt,transcripts,prosody/config,prosody/prosody-plugins-custom,jicofo,jvb,jigasi,jibri}
- 1
6.打开服务器防火墙对应的端口
端口:
8000
(TCP)、
8003
(TCP)、
10000
(UDP),端口要跟上面的对应
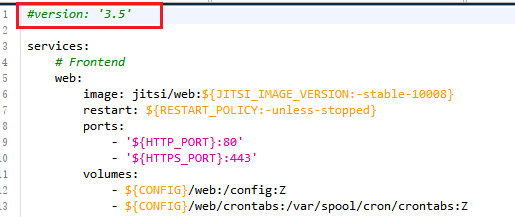
7.修改docker-compose.yml,并运行
(1)如果你的
docker-compose的版本是最新版的,还得修改
docker-compose.yml,把最上面的版本号注释掉,不然运行会出现如下警告
WARN[0000] /home/docker-jitsi-meet-stable-10008/docker-compose.yml: the attribute `version` is obsolete, it will be ignored, please remove it to avoid potential confusion
- 1
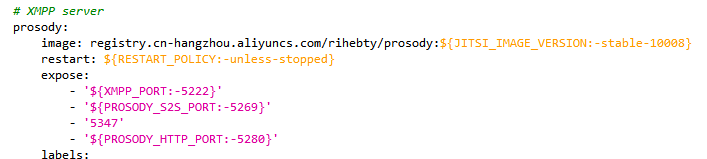
(2)修改拉取的镜像为阿里的镜像,修改的地方如下
web:
        image: registry.cn-hangzhou.aliyuncs.com/rihebty/web:${JITSI_IMAGE_VERSION:-stable-10008}
prosody:
        image: registry.cn-hangzhou.aliyuncs.com/rihebty/prosody:${JITSI_IMAGE_VERSION:-stable-10008}
jicofo:
        image: registry.cn-hangzhou.aliyuncs.com/rihebty/jicofo:${JITSI_IMAGE_VERSION:-stable-10008}
jvb:
        image: registry.cn-hangzhou.aliyuncs.com/rihebty/jvb:${JITSI_IMAGE_VERSION:-stable-10008}
- 1
- 2
- 3
- 4
- 5
- 6
- 7
- 8


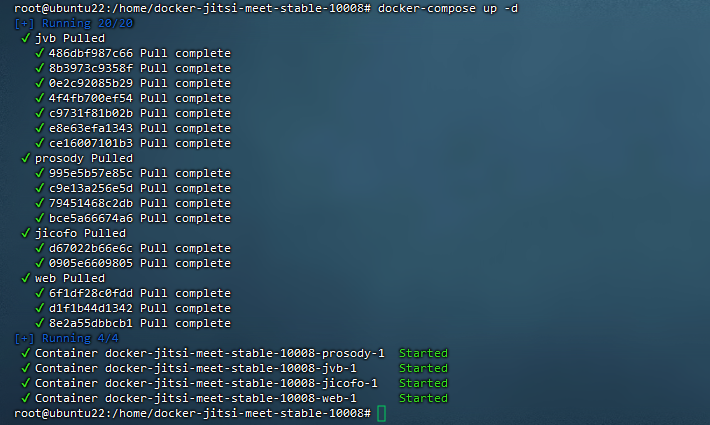
(2)要在docker-jitsi-meet-stable-10008目录下运行
docker-compose up -d
- 1
(3)等待镜像拉取后自动运行,如下图则运行成功

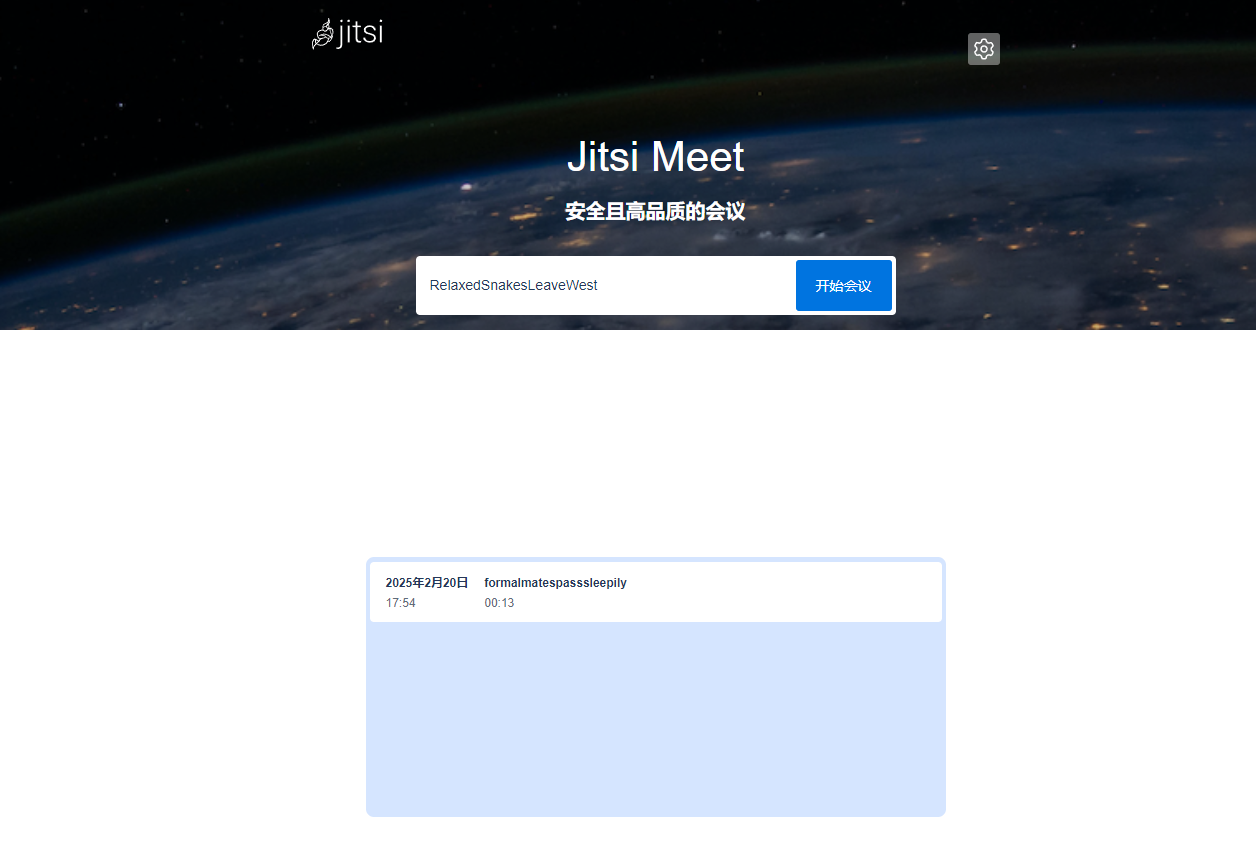
8.访问网页,进入会议
在浏览器输入:https://IP:8003/,然后按照下面的步骤,如果不报错那就是成功了


9.后续修改配置文件
需要先停止docker容器的运行,再重新运行,不要用docker-compose restart重启会不生效
#要在文件docker-jitsi-meet-stable-10008下进行
docker-compose stop
docker-compose up -d

#下面是重启的
docker-compose restart
- 1
- 2
- 3
- 4
- 5
- 6
- 7
参考文章:
https://blog.laoda.de/archives/docker-compose-install-jitsi
https://www.cnblogs.com/yanweidie/p/17146692.html